How Will The Cartridges Work?
and why's it called the GameTank?
After creating the Steamed RAMs prototype, I wanted to make it a bit easier to switch images so it seemed like a good time as any to experiment with making cartridges. Admittedly there might actually have been better times later in the development of the GameTank that I could have come up with the cartridge pinout, but what I came up with has worked decently well so far and I might not have to revise it that much.
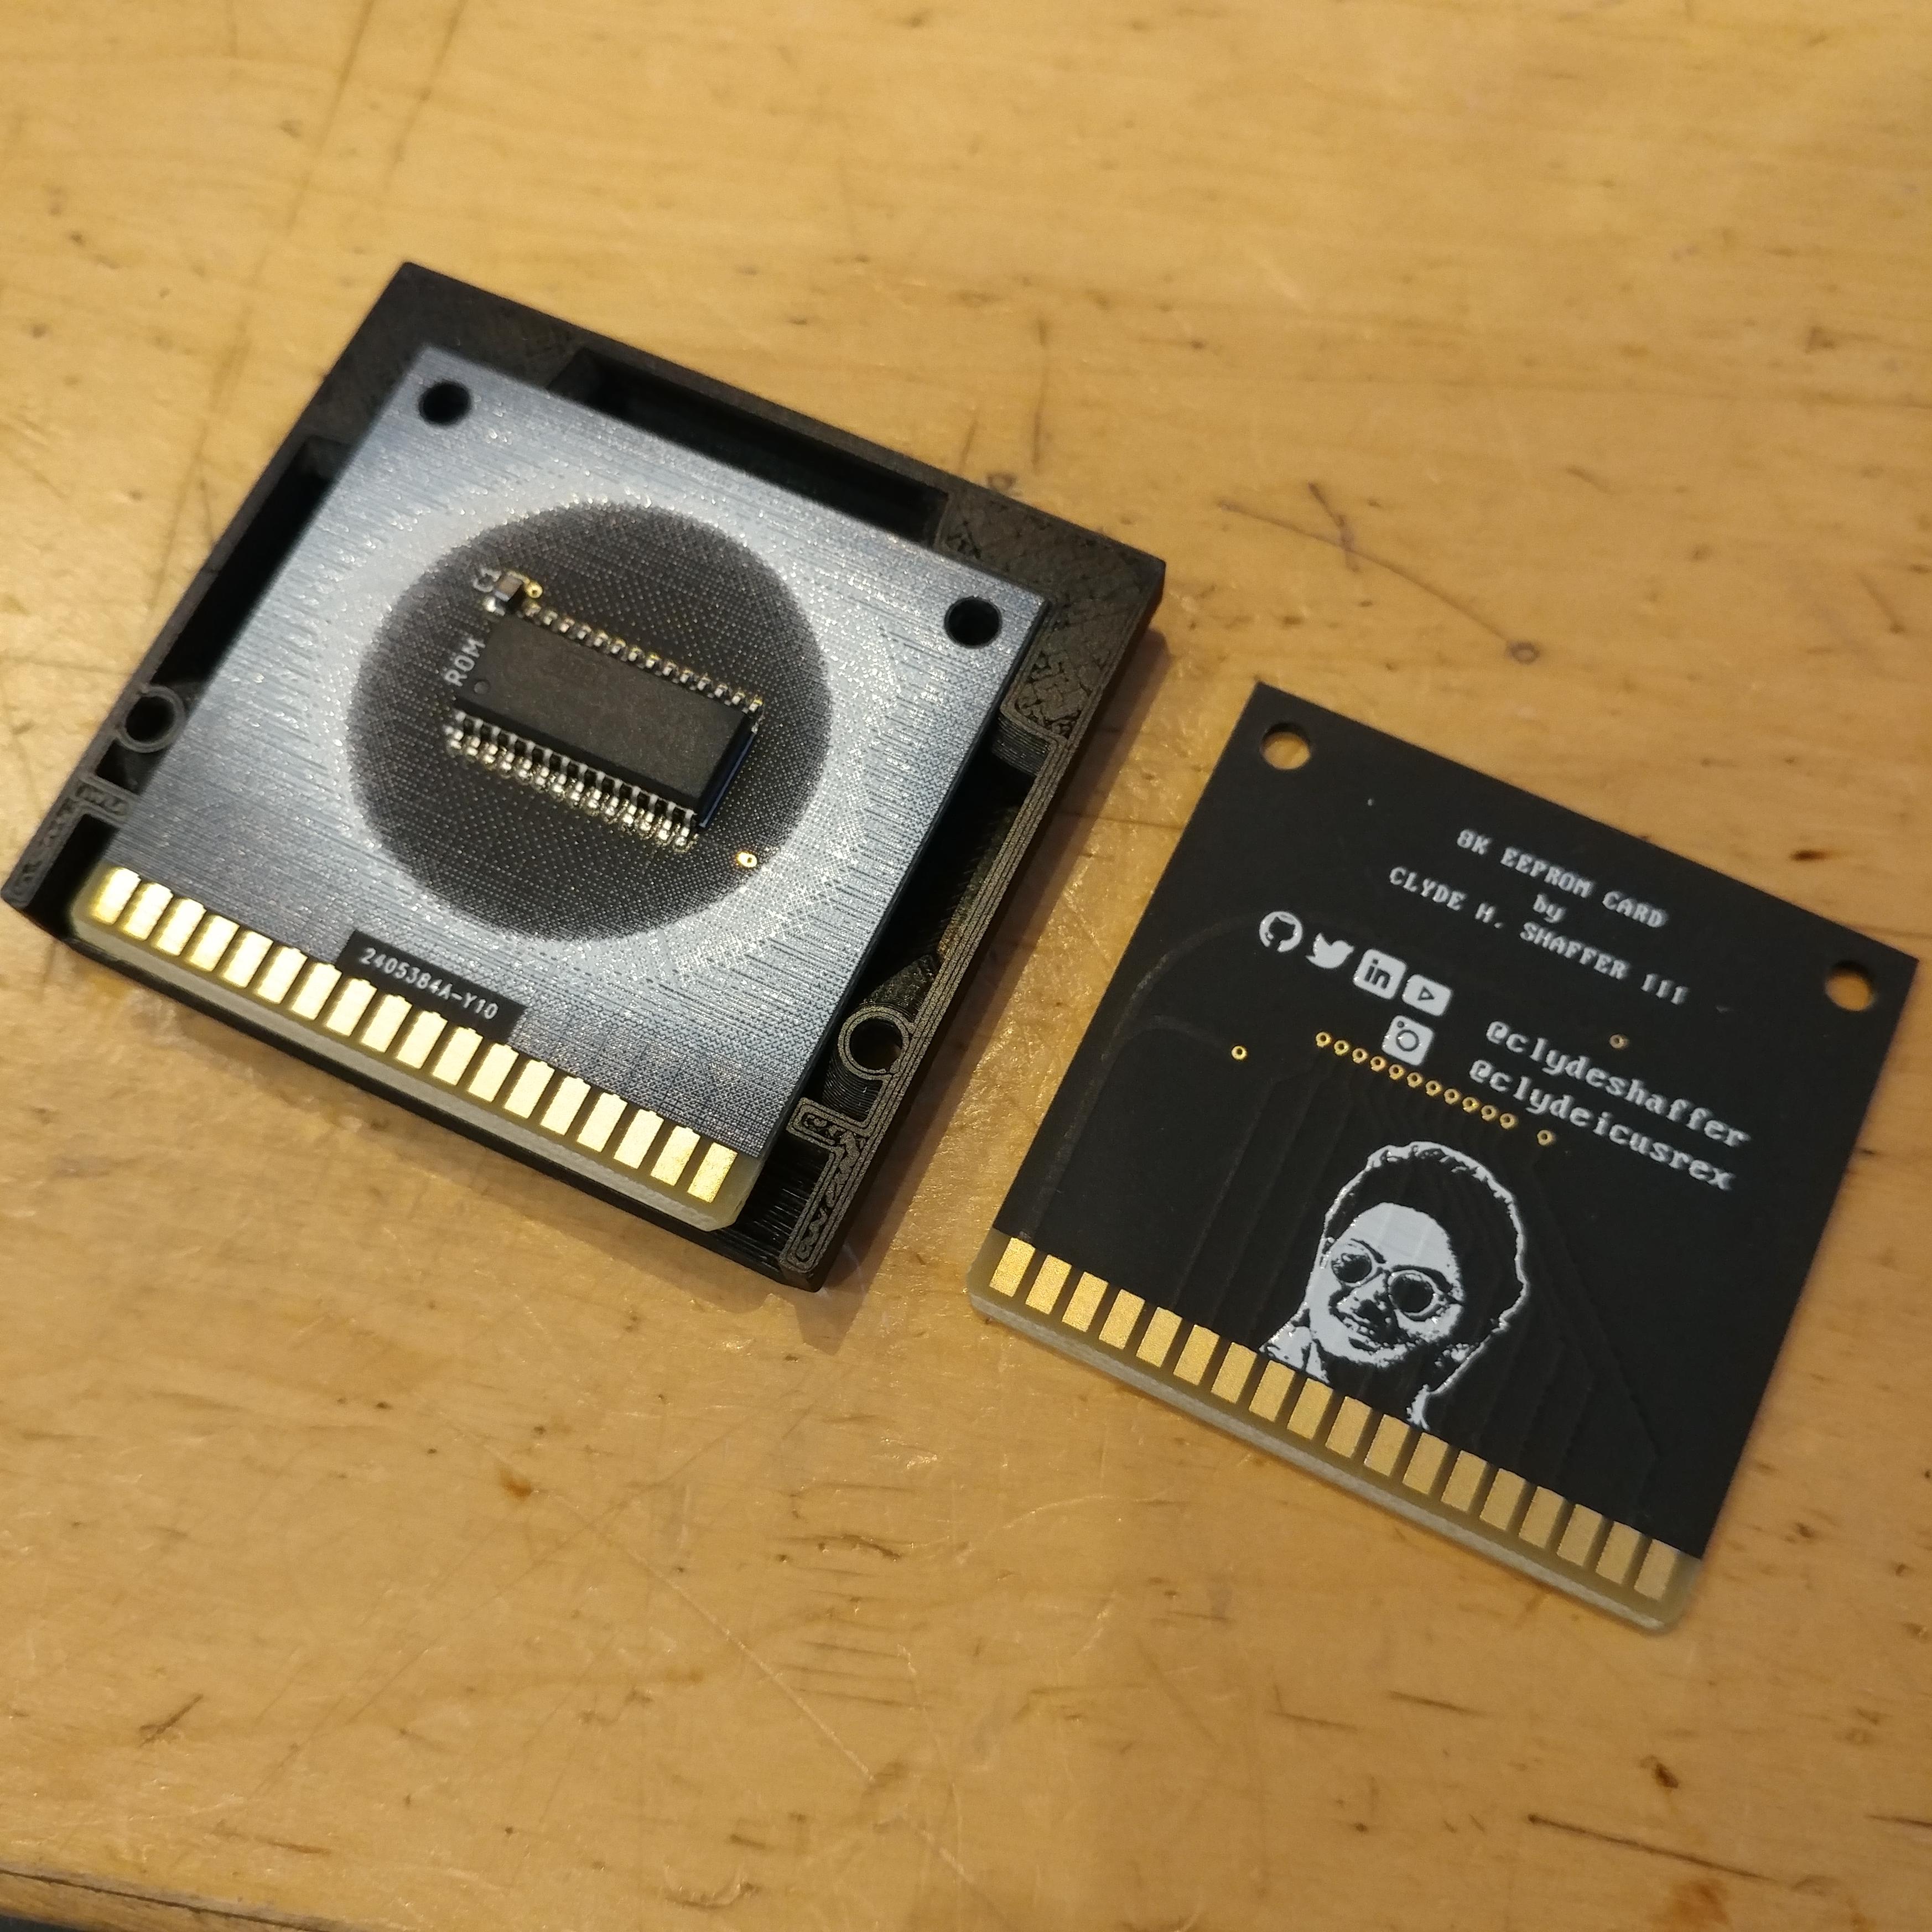
I wanted the cartridges to host a ROM chip and connect using a card-edge connector like in olden times. But I also wanted to have the possiblity to use the cartirdge port as an expansion port, or to embed more than just ROM in a cartridge. Some Famicom games, for instance, brought extra audio hardware of their own which would be mixed into the output alongside the console's own generated audio. To support stuff like this, I designed the cartridge port to include all address lines (not just the ones used by an 8K ROM), the IRQ line, two pins to connect extra audio from the cartridge, the system clock, and two pins for connecting I2C devices I might theoretically put in a cartridge.
Here's the cartridge pinout copied from my notebook:
| Back | Front |
|---|---|
| Ground | Phi2 (System Clock) |
| Reset | IO2 |
| Ready | IO1 |
| A14 | IO0 |
| IO3 | A0 |
| IO4 | A1 |
| IO5 | A2 |
| IO6 | A3 |
| IO7 | A4 |
| Cartridge Enable | A5 |
| A10 | A6 |
| Output Enable | A7 |
| A11 | A12 |
| A9 | I2C Clock |
| A8 | I2C Data |
| IRQ | Audio IN |
| Write Enable | Audio OUT |
| A13 | VCC |
If some of the address numbering looks like it's all over the place, it's because I was somewhat adopting the positioning from the pins on the ROM chip I'm using, the AT28C64. I don't actually know why it's like that. I designed PCBs for using this pinout and that particular ROM chip, along with 3D printed cases. To program it, I built an Arduino-based cartridge programmer that would connect to my PC over USB and load data using a specially made command line utility.
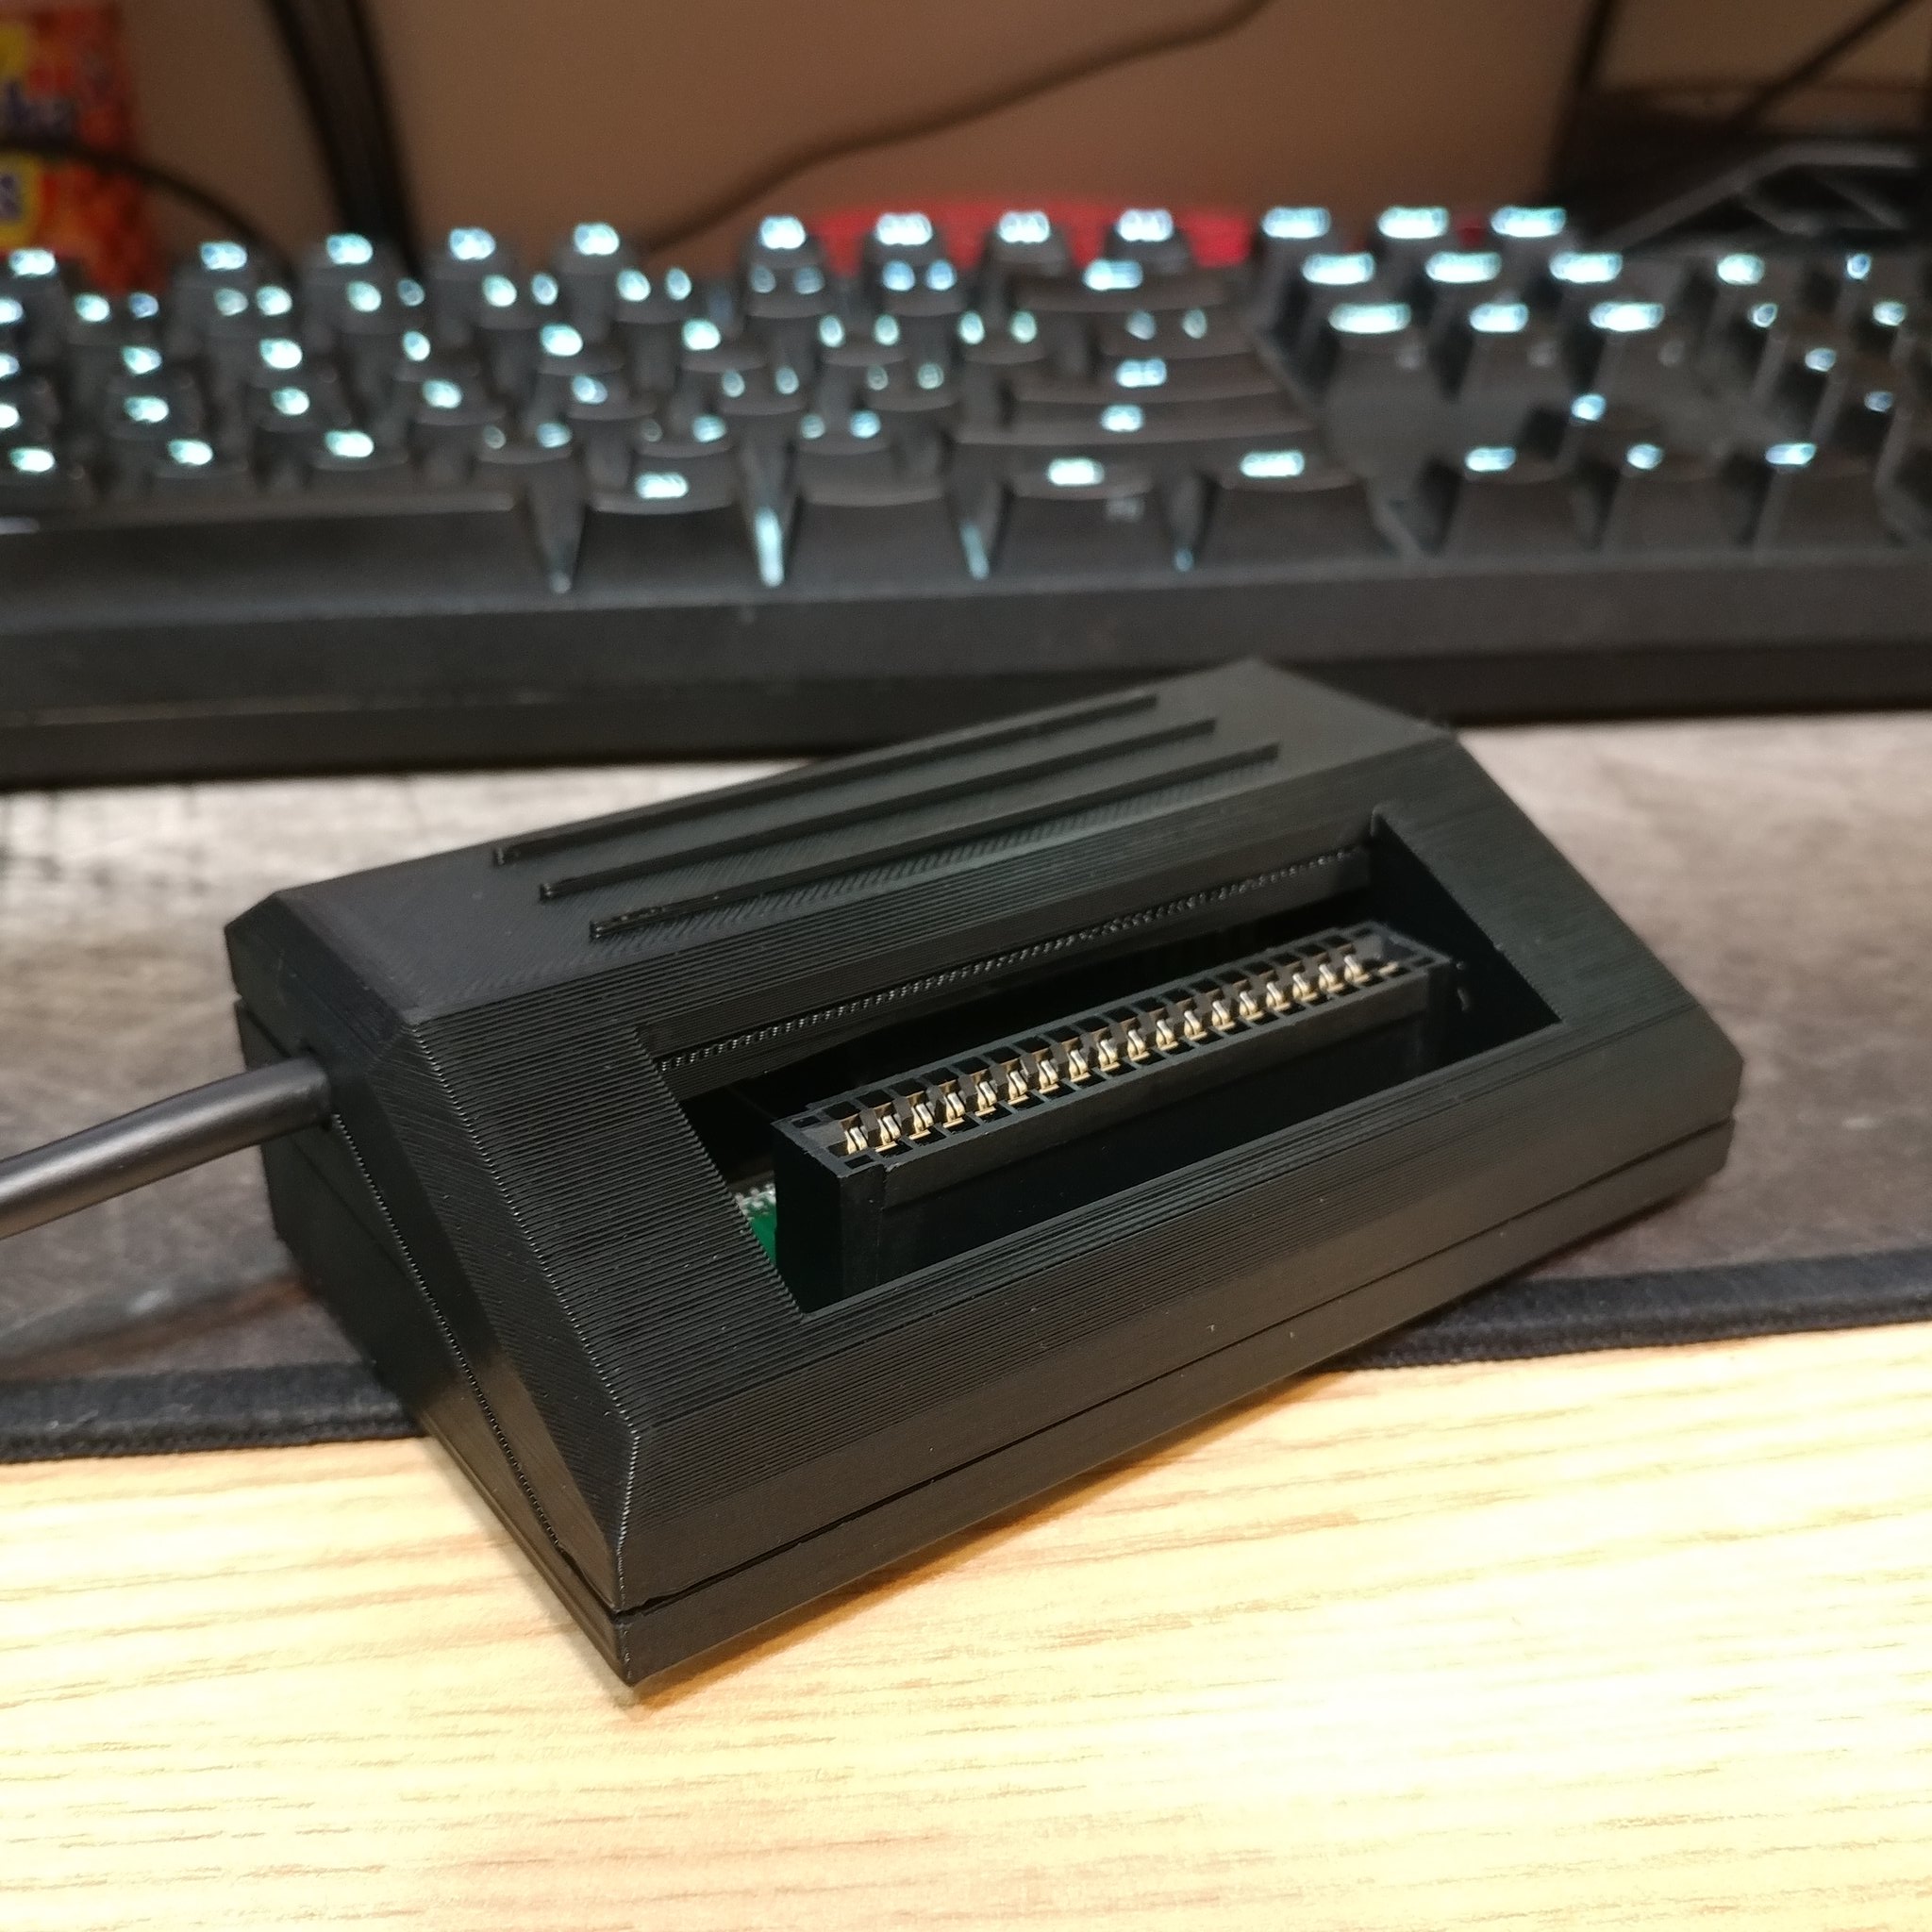
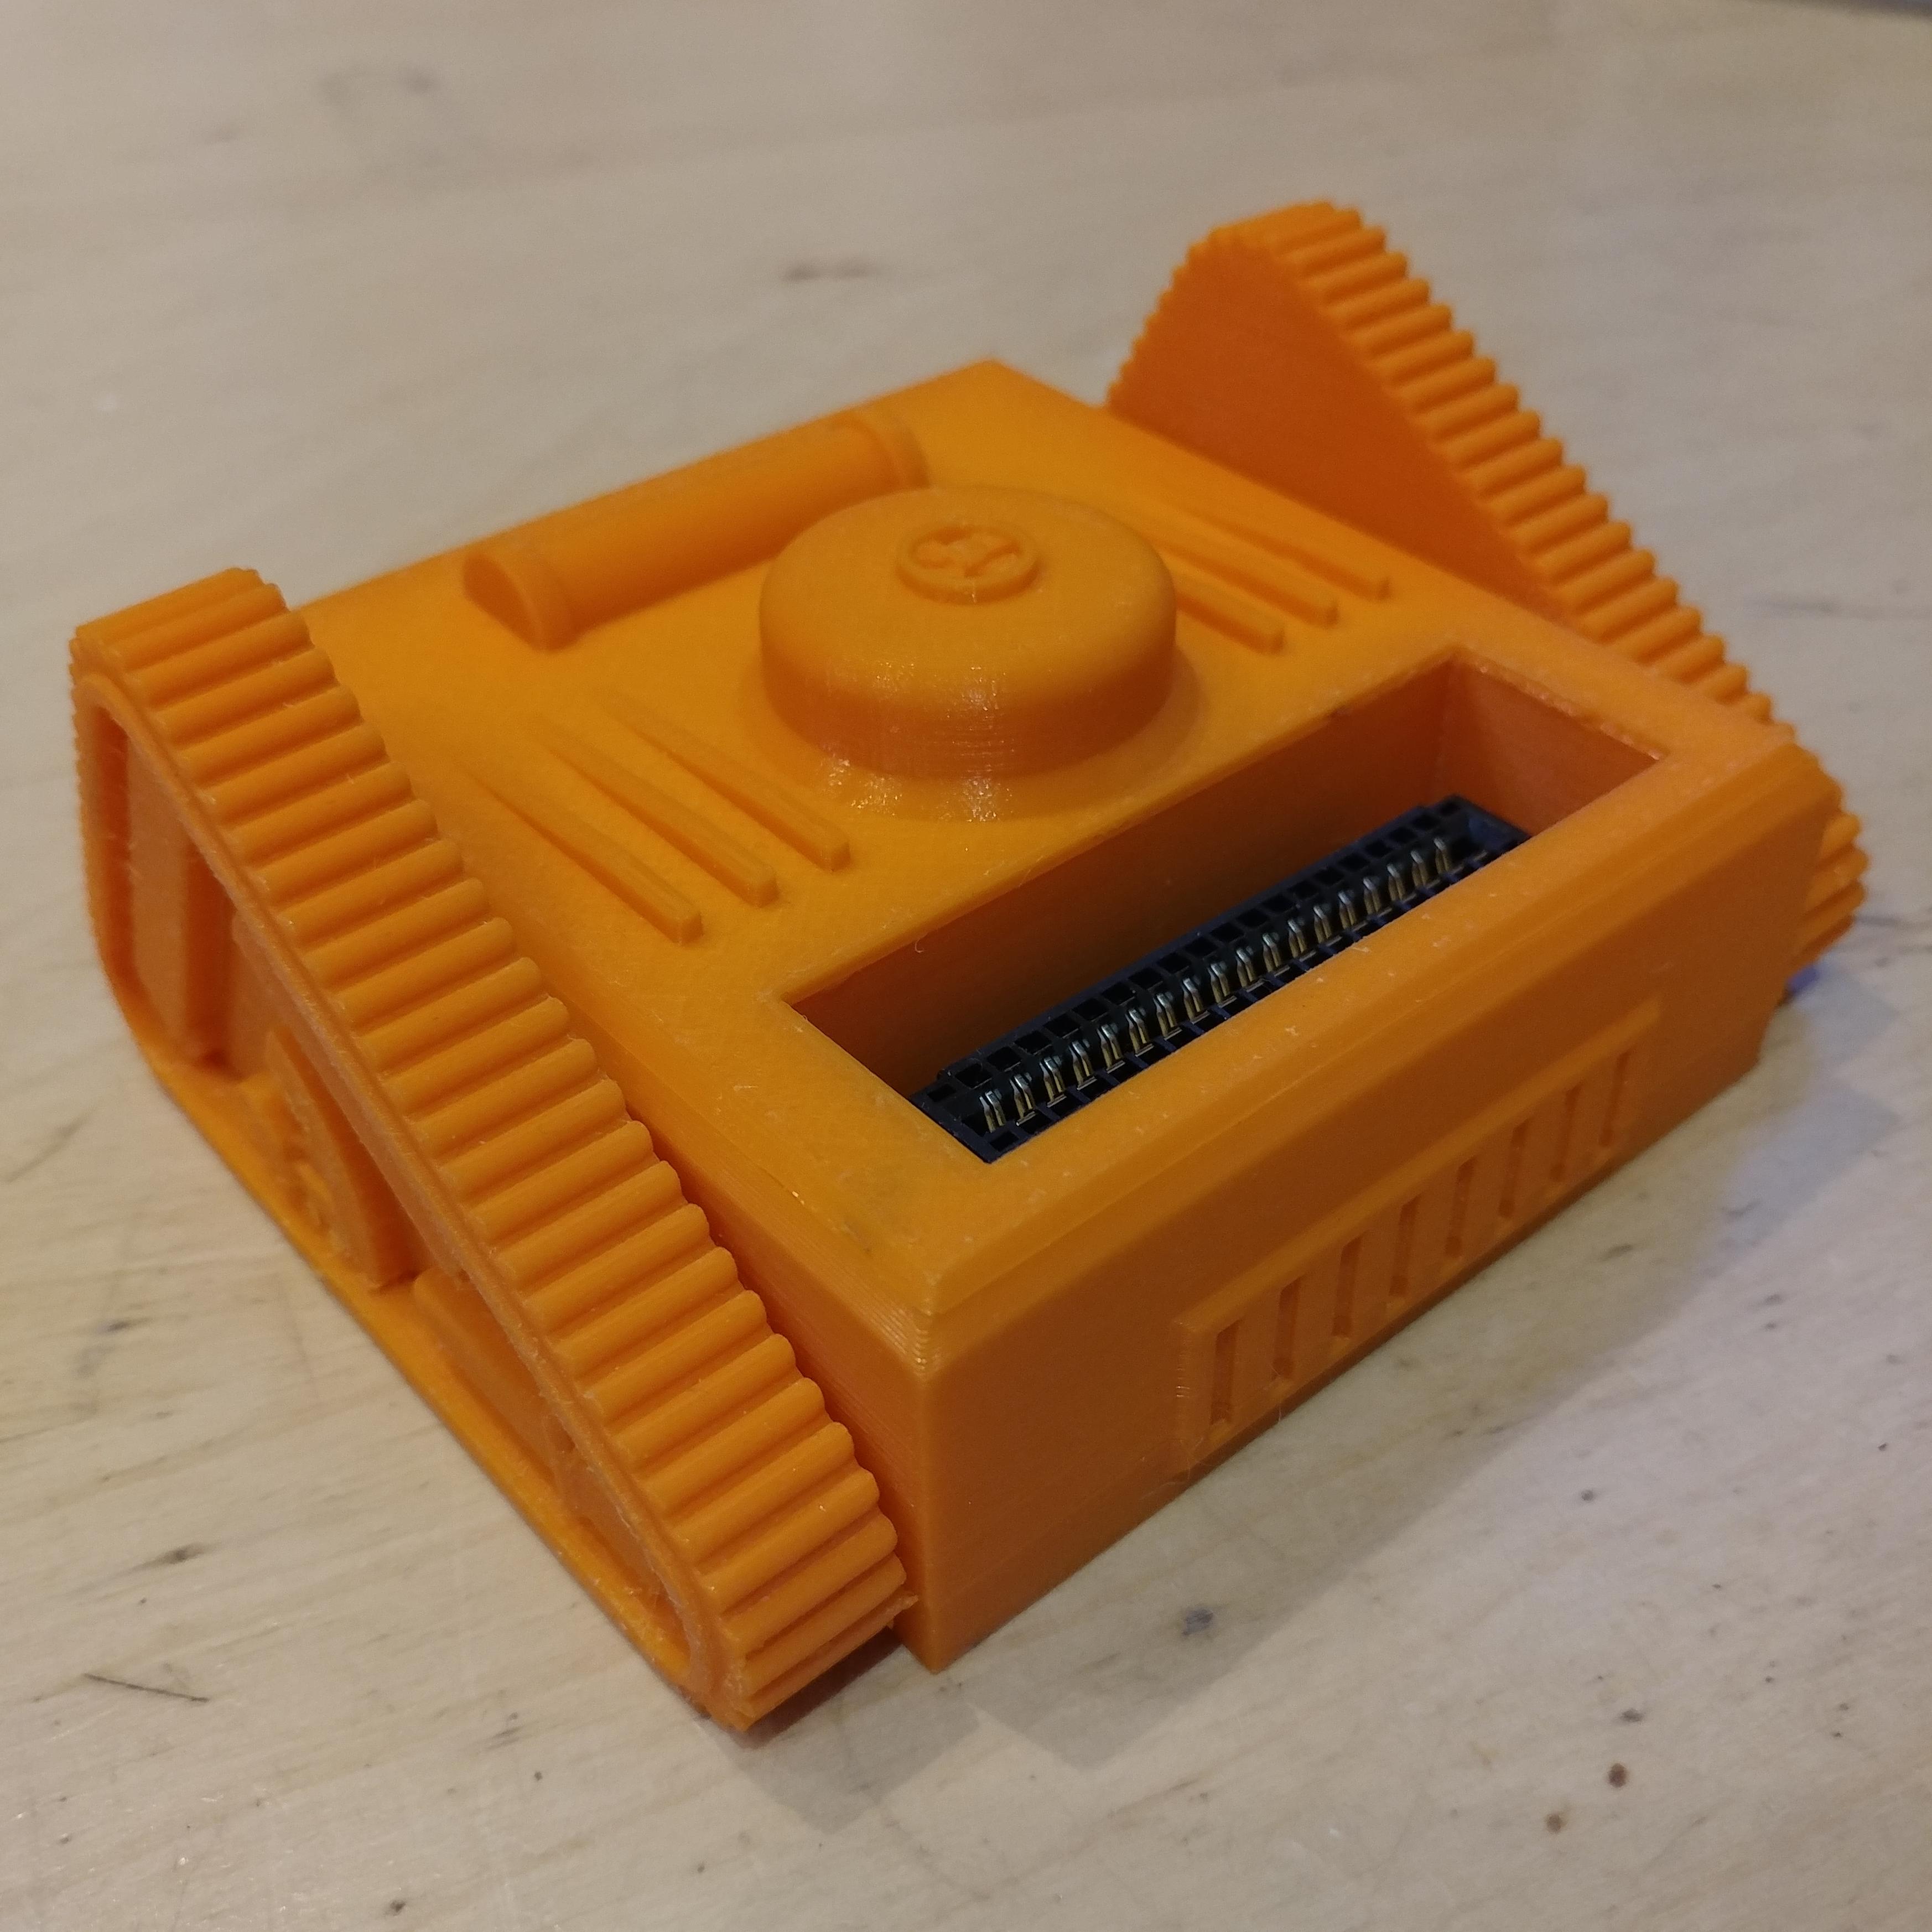
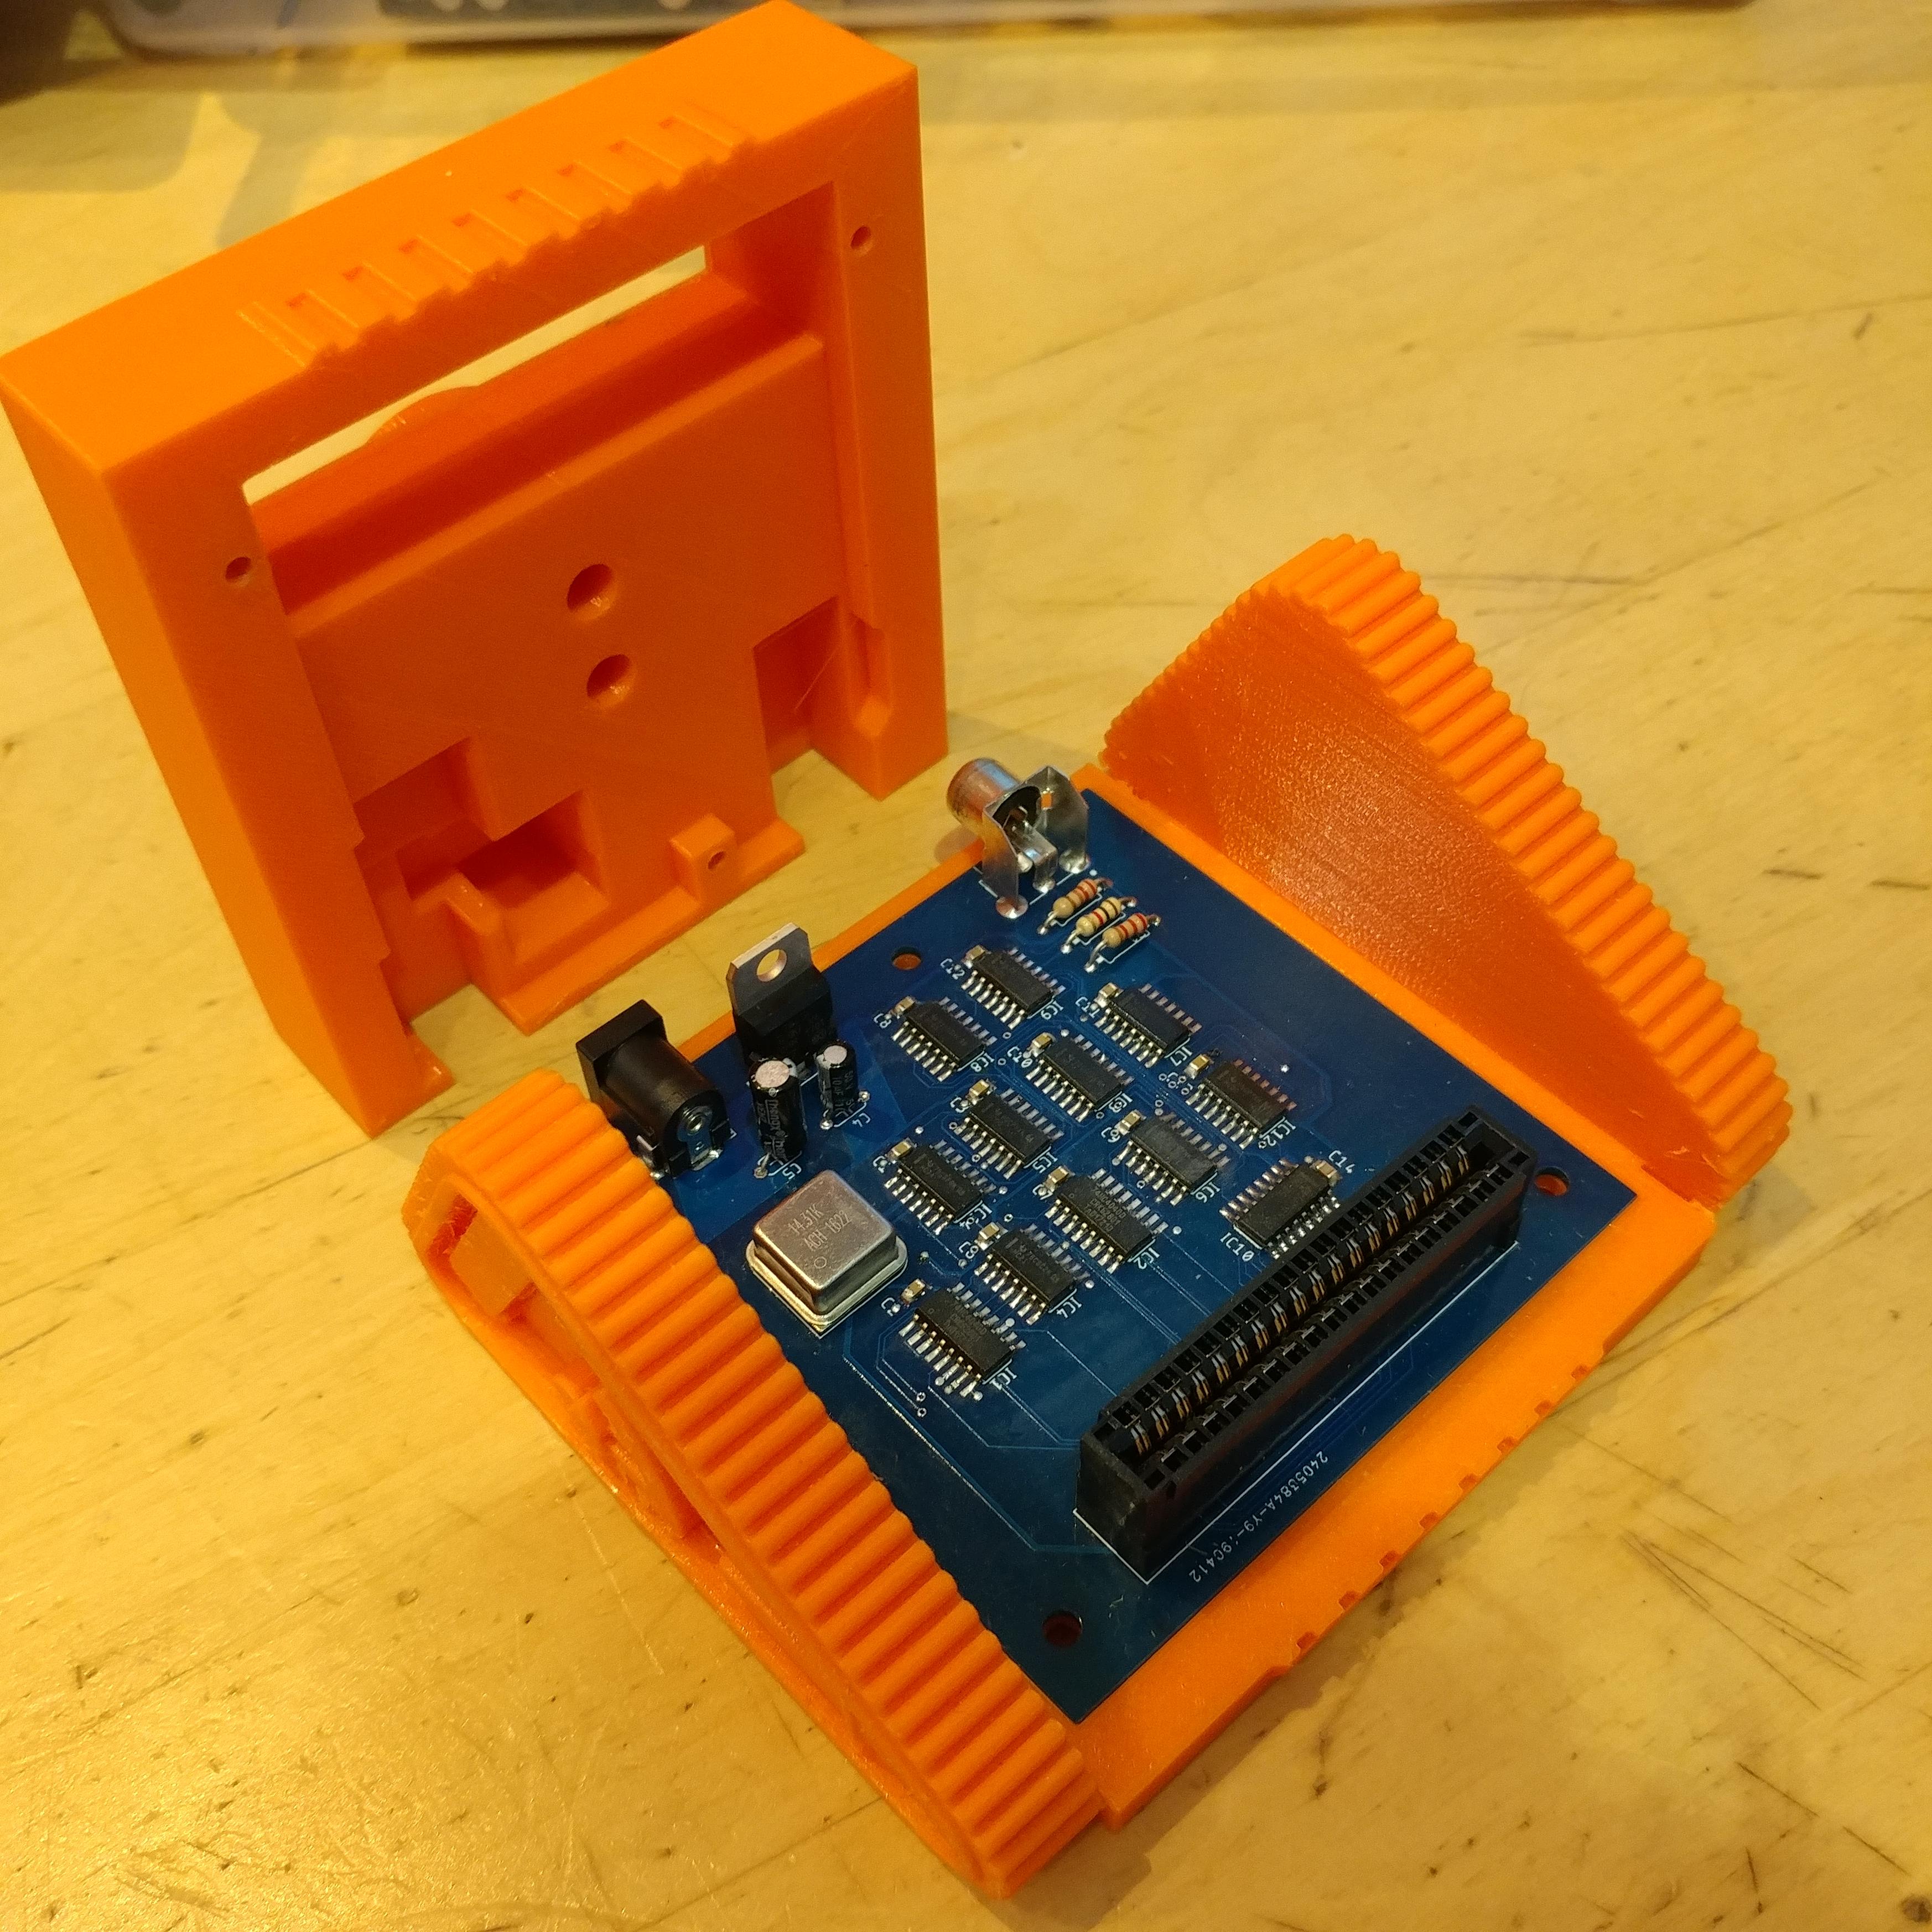
To try out this cartridge pinout I decided to extend my previous work by replacing the ROM chip in the schematic with a cartridge connector, and making a new board. Also this board would use surface-mount components because I wanted to try working with those. After ordering the board I also designed a 3D printed case for it.
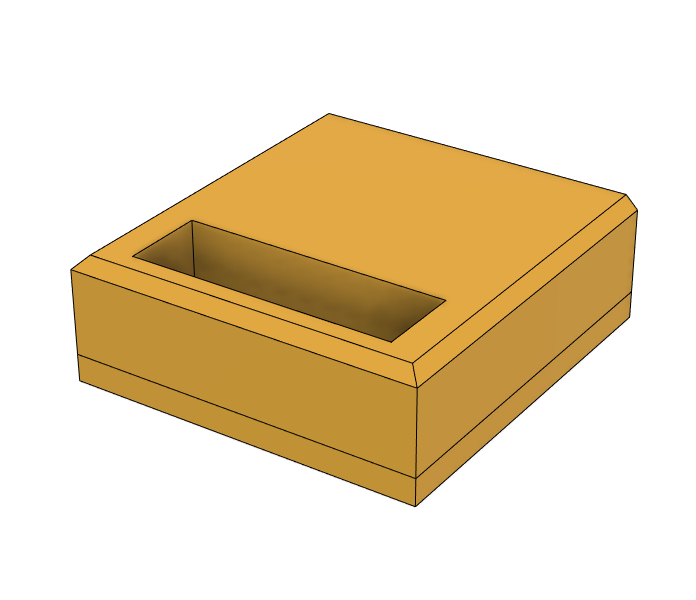
This looked a bit boring though, and I wanted to take the opportunity to embellish the design with a few subtle flourishes.
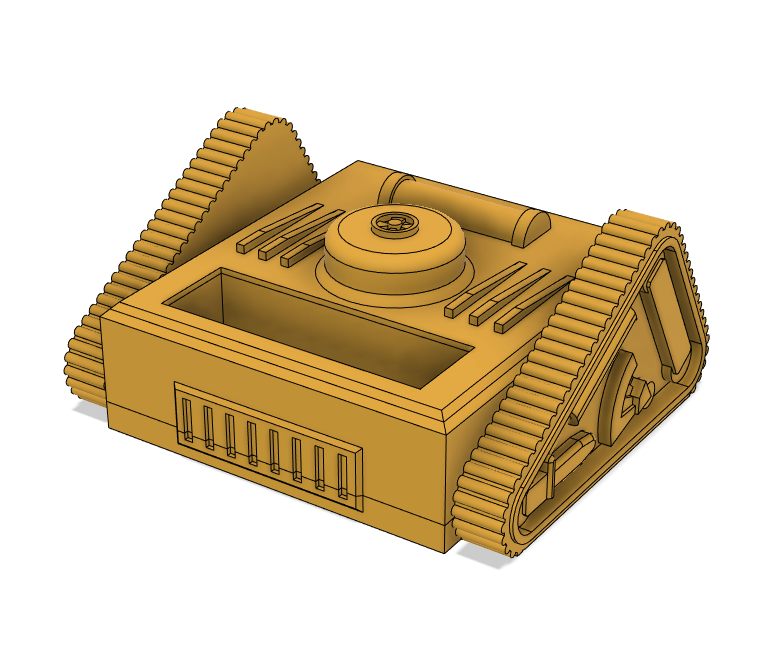
Much better. So basically this is when the game console project gained the GameTank name and this random design was the only reason for it.